# ContactSheet Installation Instructions
Caution
The ContactSheet is designed to fit the differently shaped controllers of the Quest2/3/Pro. Therefore, the degree of adhesion of the ContactSheet body may vary depending on the controller. Even if the housing is slightly floating from the controller, it will not affect its operation, so please don't worry.
# Meta Quest 2 Touch Controller / Meta Quest Touch Plus Controller
Caution
This procedure is for use with Quest2/3. The procedure for using it with Pro is different.
- Attach the included third-party strap. (Please refer to the instruction manual included with the strap for the attachment method.)
Caution
If you do not use the included strap with Quest2/3, please make sure to use the original strap before using the ContactSheet.
| [ Quest2 with Strap ] | [ Quest3 with Strap ] |
|---|---|
 |  |
- Clean the surface of the controller with the included cleaner.
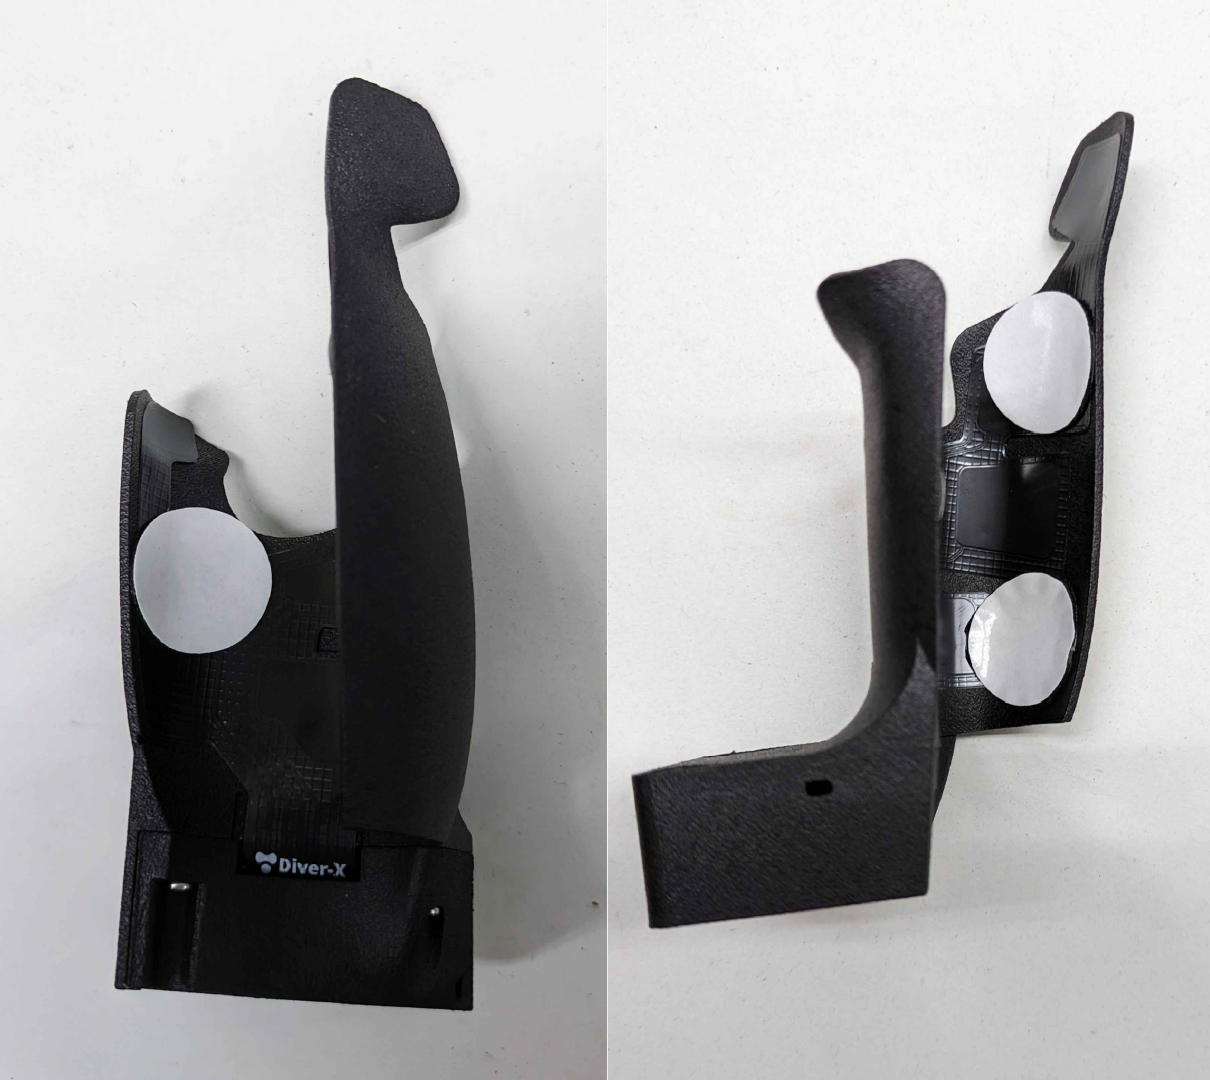
- Attach the three included stickers to the inside of the ContactSheet as shown in the image.
For removal instructions, see here (opens new window).
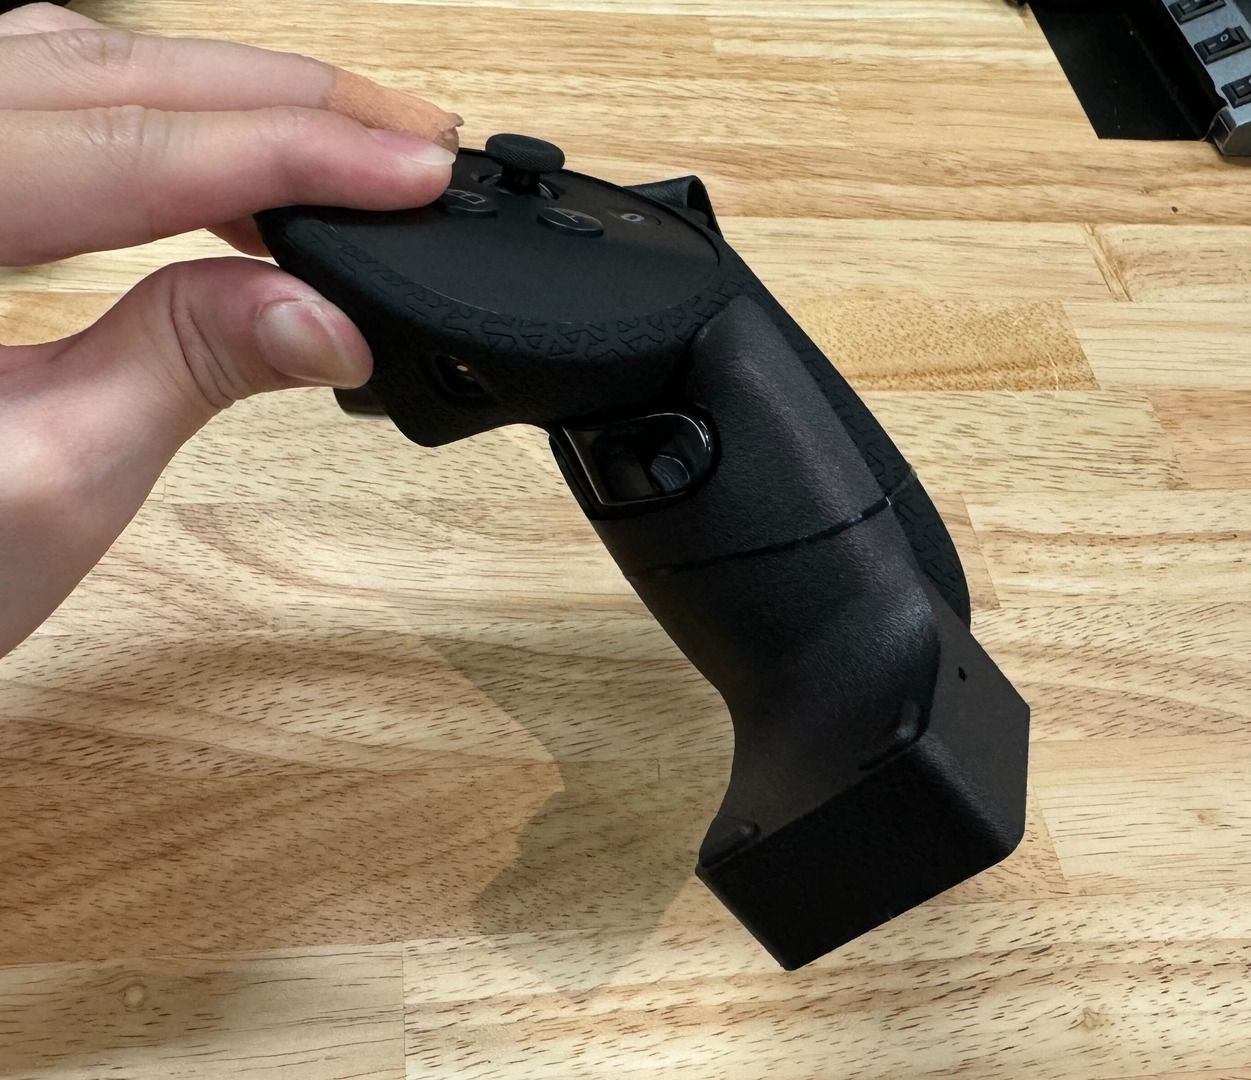
- Attach the ContactSheet body to the controller.
TIP
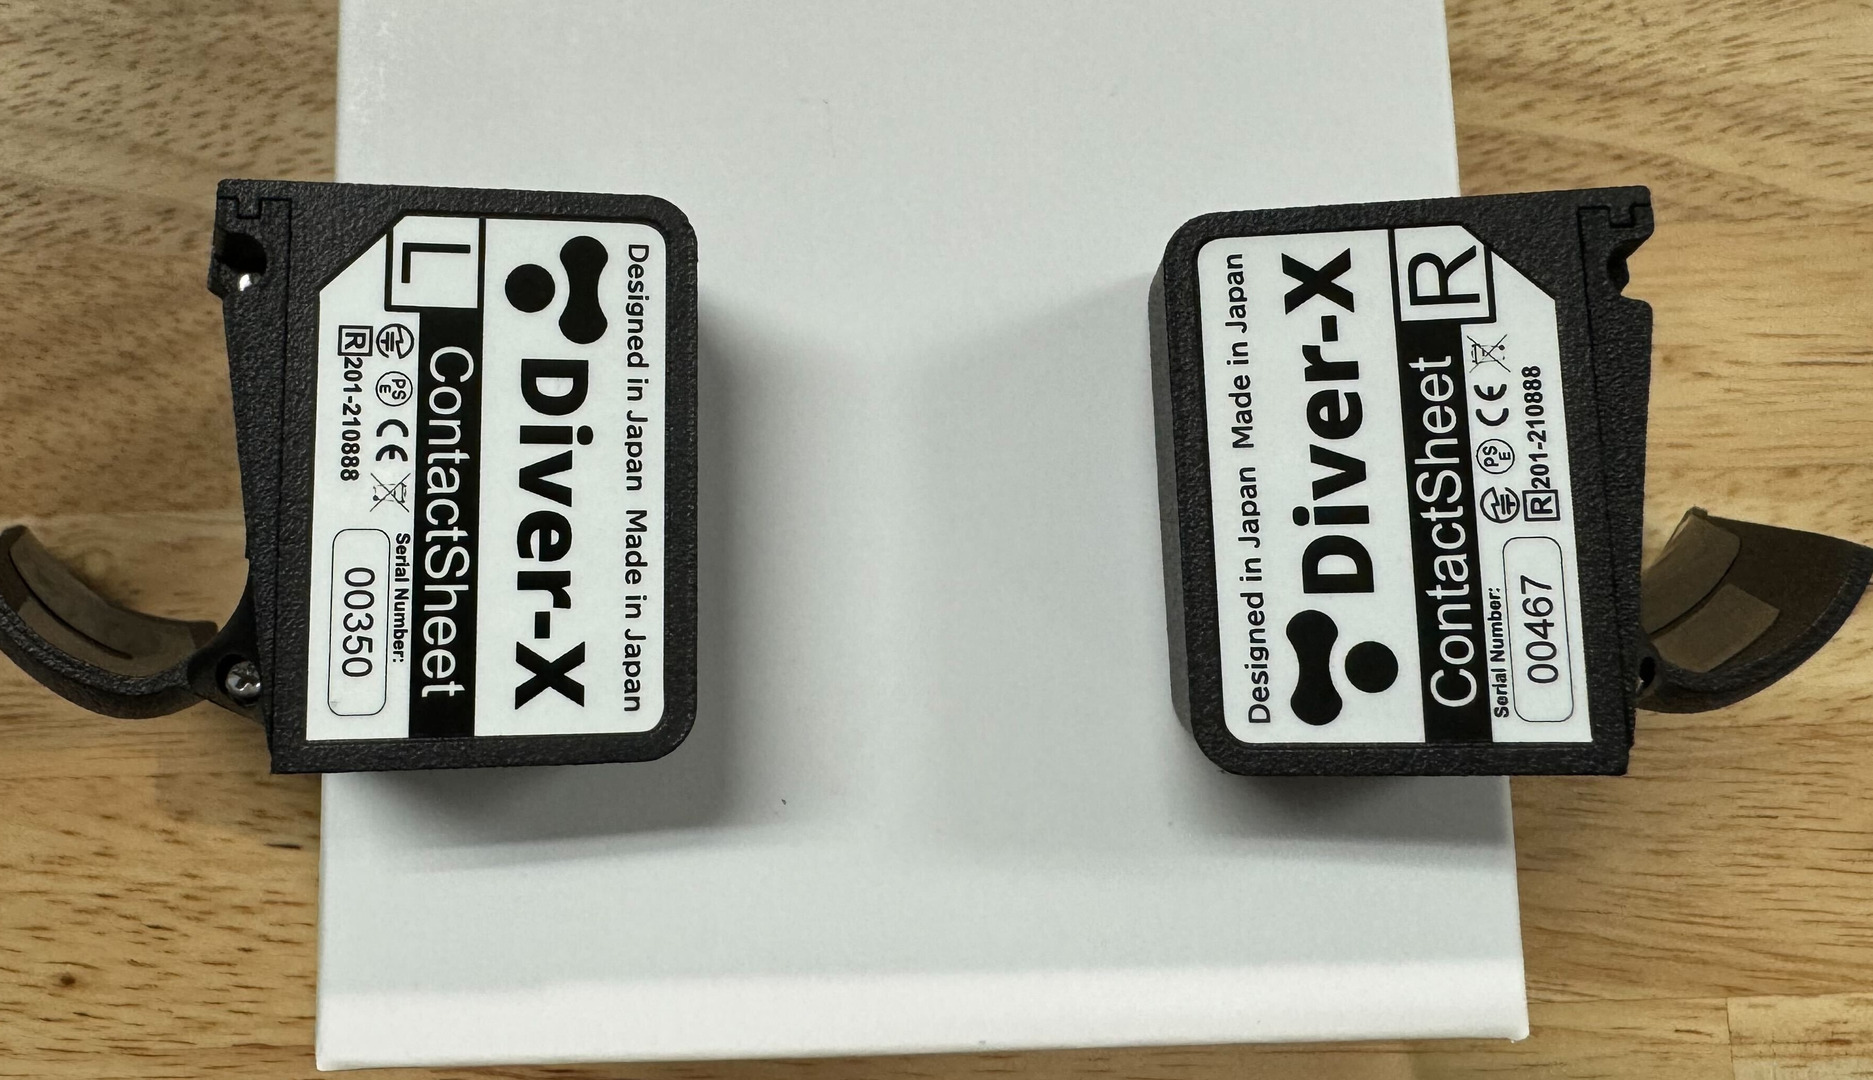
Check the display on the bottom of the ContactSheet body to ensure it is attached correctly to the left and right sides.
# Quest Touch Pro Controller
Caution
Be sure to use the ContactSheet with the included strap.
- Attach the included DESTEK HAND GRIP PROTECTOR COVER (third-party) to the controller. (Please refer to the instruction manual included with the strap for the attachment method.)
- Secure the ContactSheet to the controller over the PROTECTOR COVER using the included silicone band.
TIP
When attaching the silicone band, you need to remove the cover's strap belt.
Caution
Do not attach double-sided stickers to the ContactSheet body when using it with the Pro controller.
TIP
Check the display on the bottom of the ContactSheet body to ensure it is attached correctly to the left and right sides.
# Troubleshooting
Index finger sensor area of the housing is floating from the controller surface
Due to the design of the housing to fit different shaped controllers, the relevant part is usually within a 2-5mm float.
- If it floats more than 1cm:
- First, try adjusting the position of the main body to see if the floating improves.
- If it still does not improve, it is recommended to attach double-sided adhesive stickers to the relevant part.