# Installation of Anti-Ejection Parts
If you are concerned about the Tracker protruding, we recommend installing the anti-ejection parts. The anti-ejection parts are either included as standard or sent separately to the purchaser.
Items needed for installation:
- Anti-ejection parts
- Two M2 screws pre-installed on the main unit
- Phillips screwdriver
- Approximately 5 minutes
*Note: In this example, we will explain using the Tundra Tracker, but the procedure is the same for installing other trackers. *Note: The main unit is shown removed from the glove for filming purposes, but it is fine to perform the installation while it is attached.
1. Removal of the Extension Terminal Cap
Turn off the power to the glove. Rotate the screws on both sides and remove the black cap that is attached to protect the extension terminal.
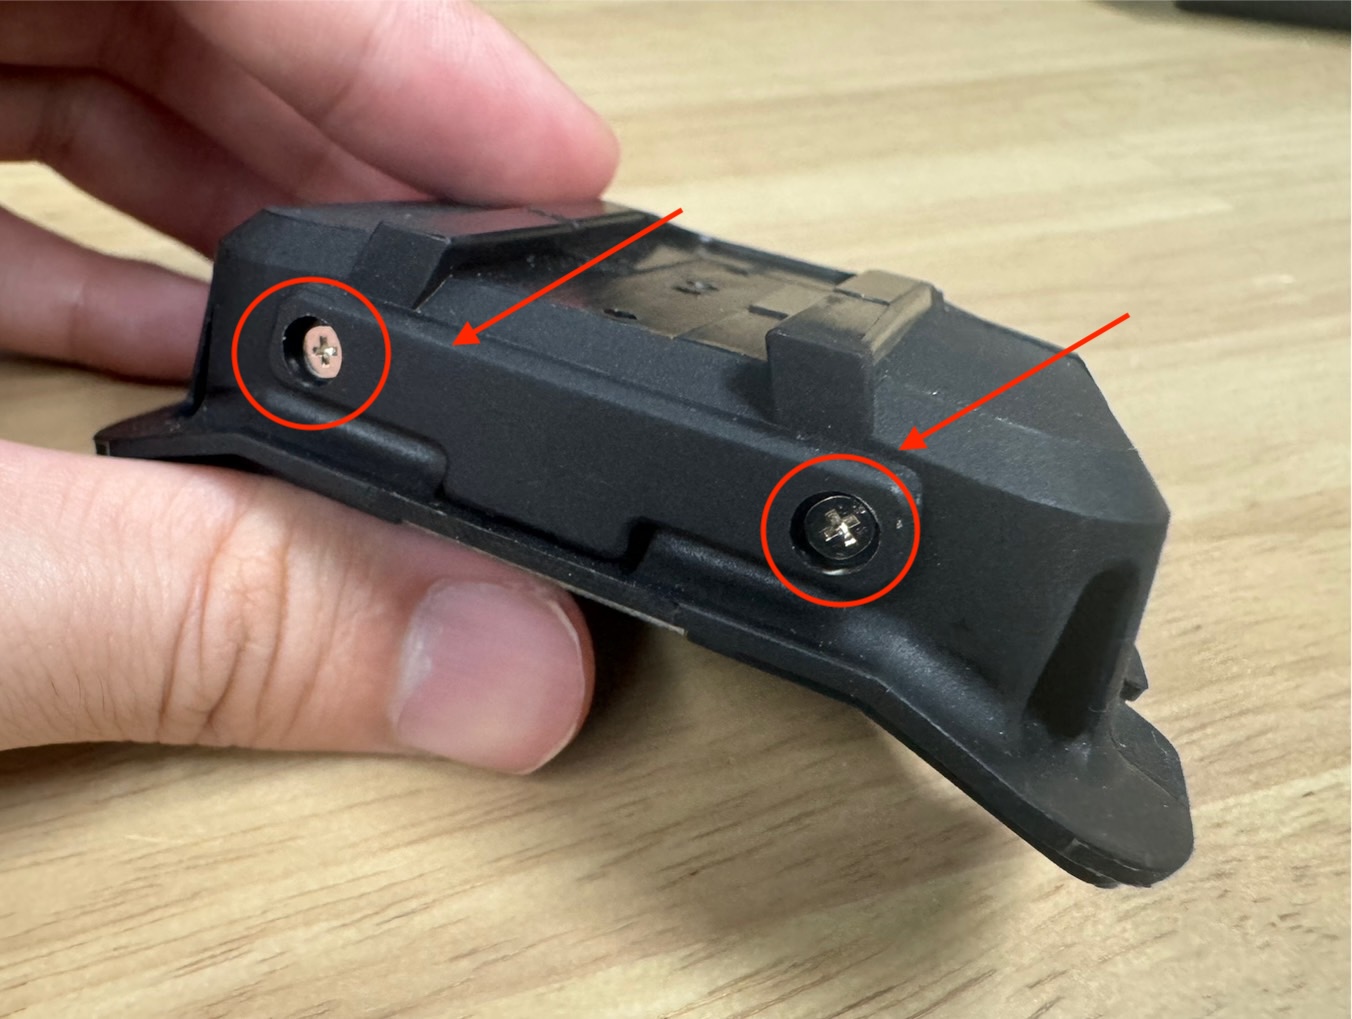
Please store the black cap carefully in a case or similar container.

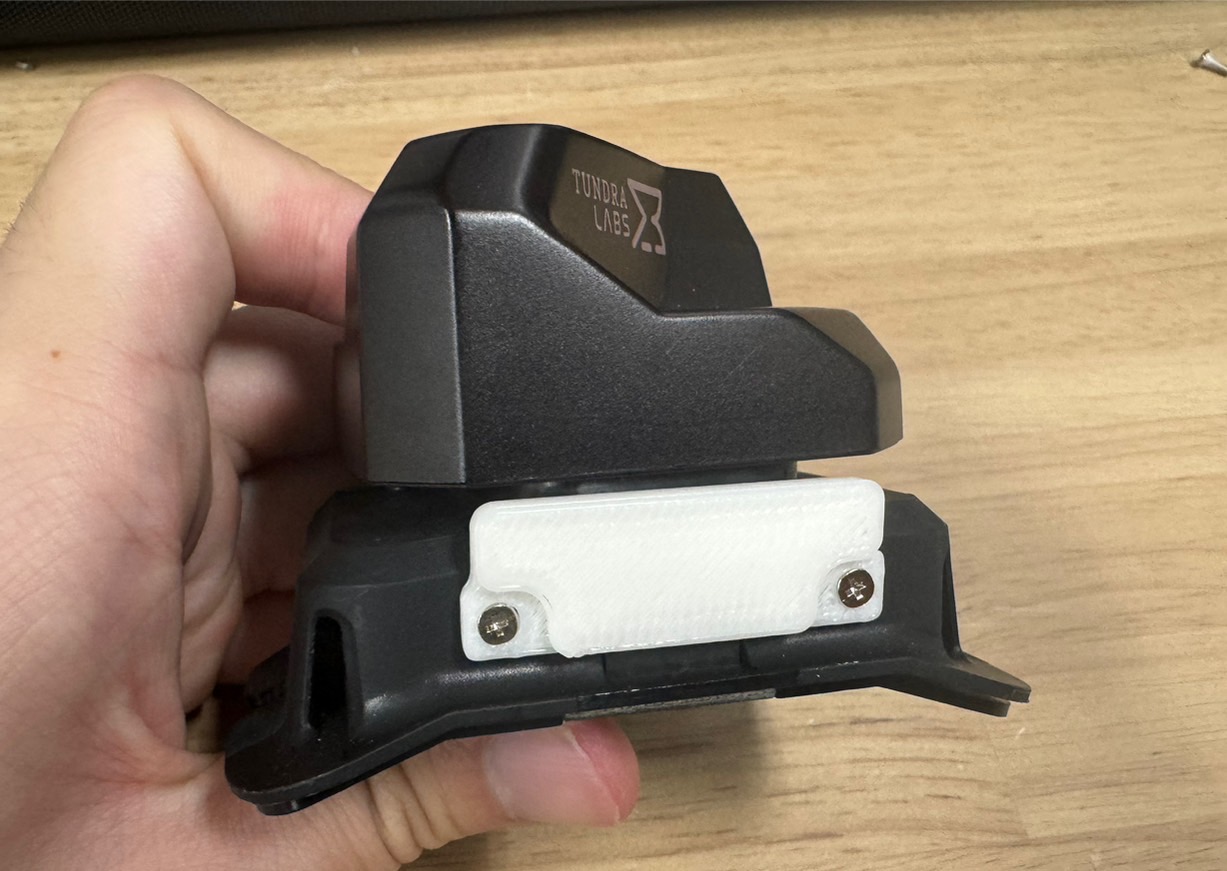
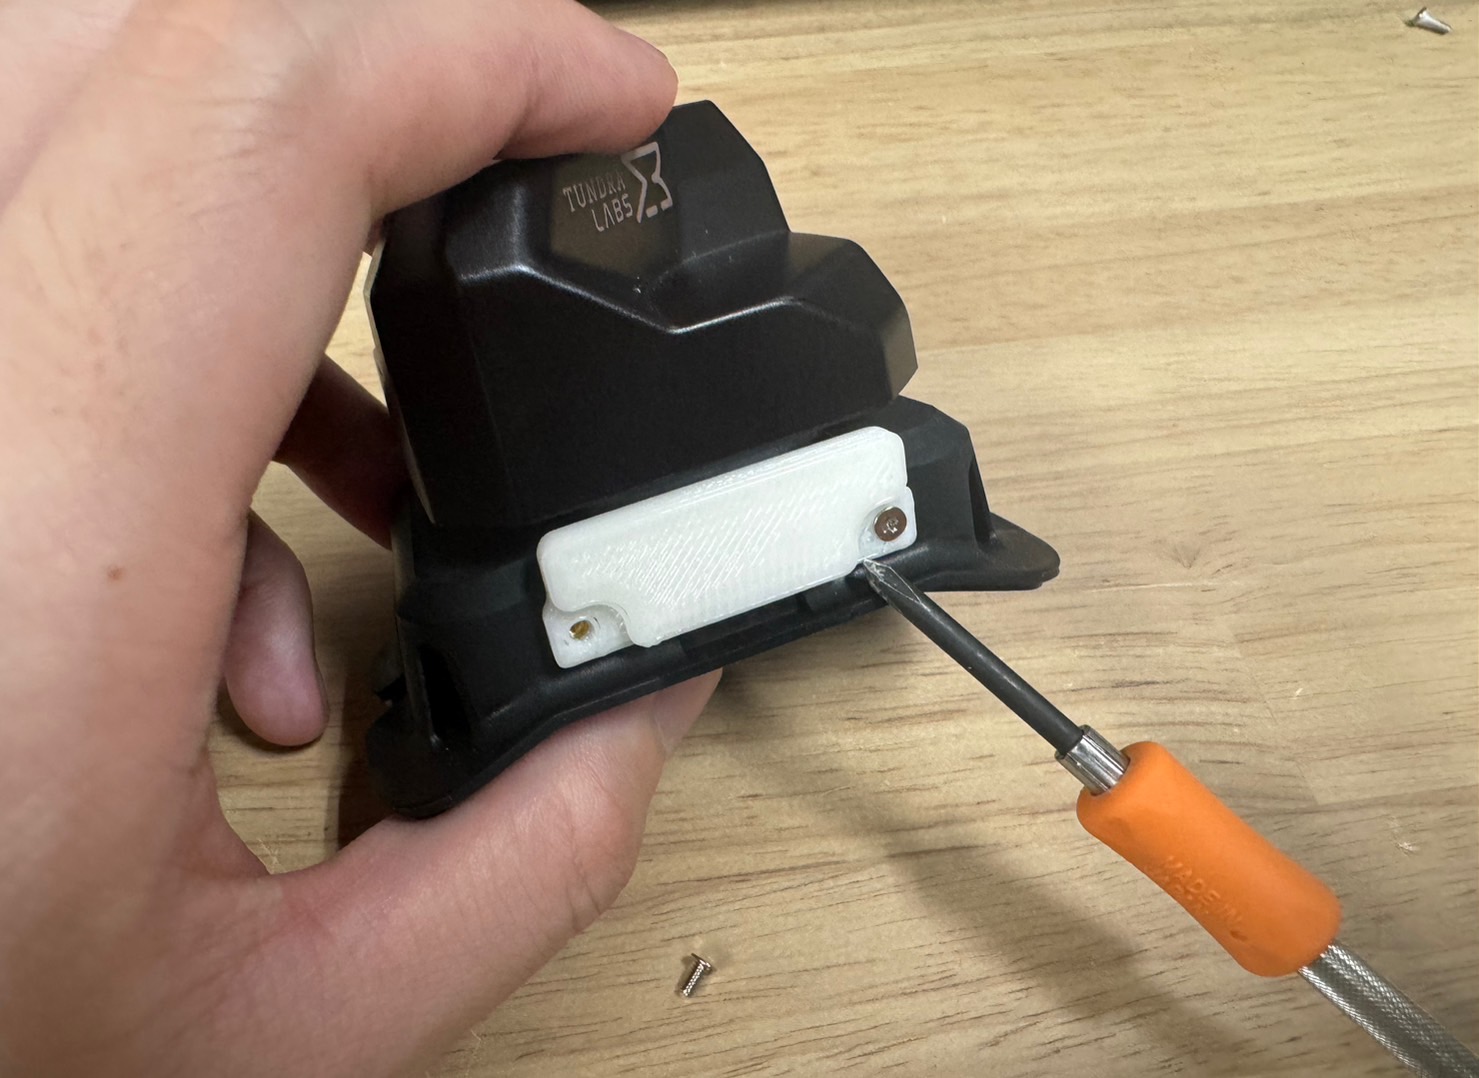
2. Installation of Anti-Ejection Parts
Place the anti-ejection parts in the position where the black cap was originally, in a direction similar to the photo. Tighten the two screws that were removed earlier.
Installation is complete.