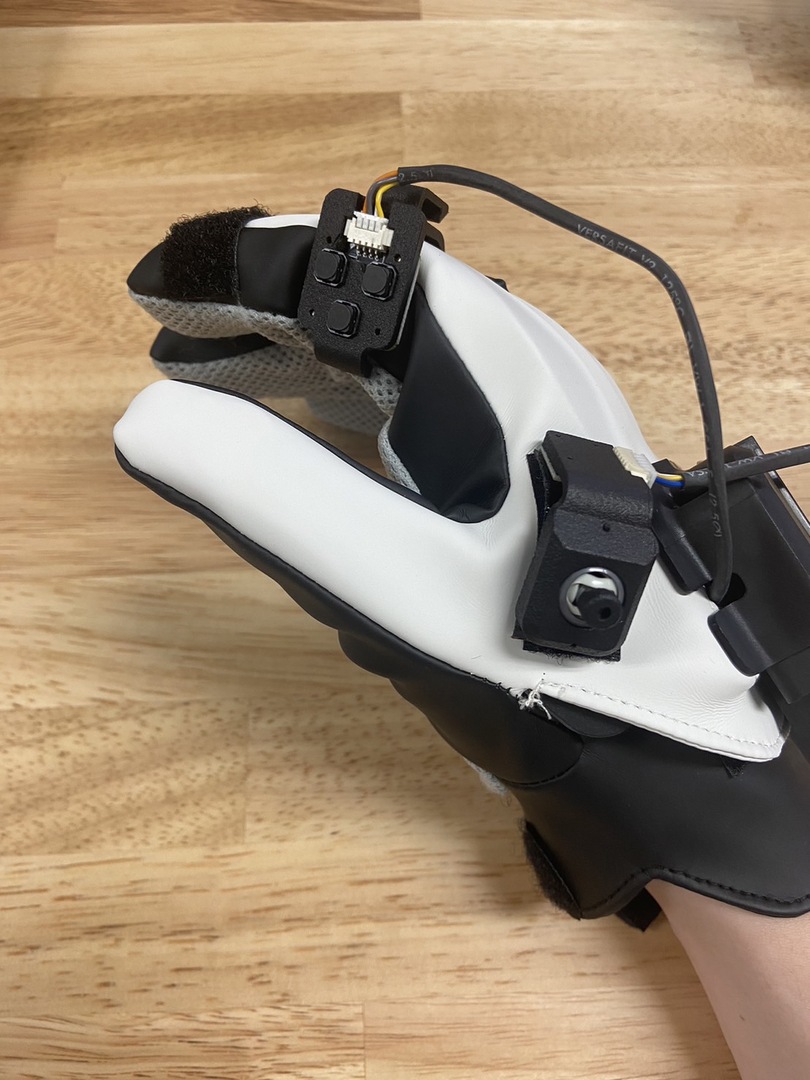
# Hardware setup
# Installing Buttons and Joysticks
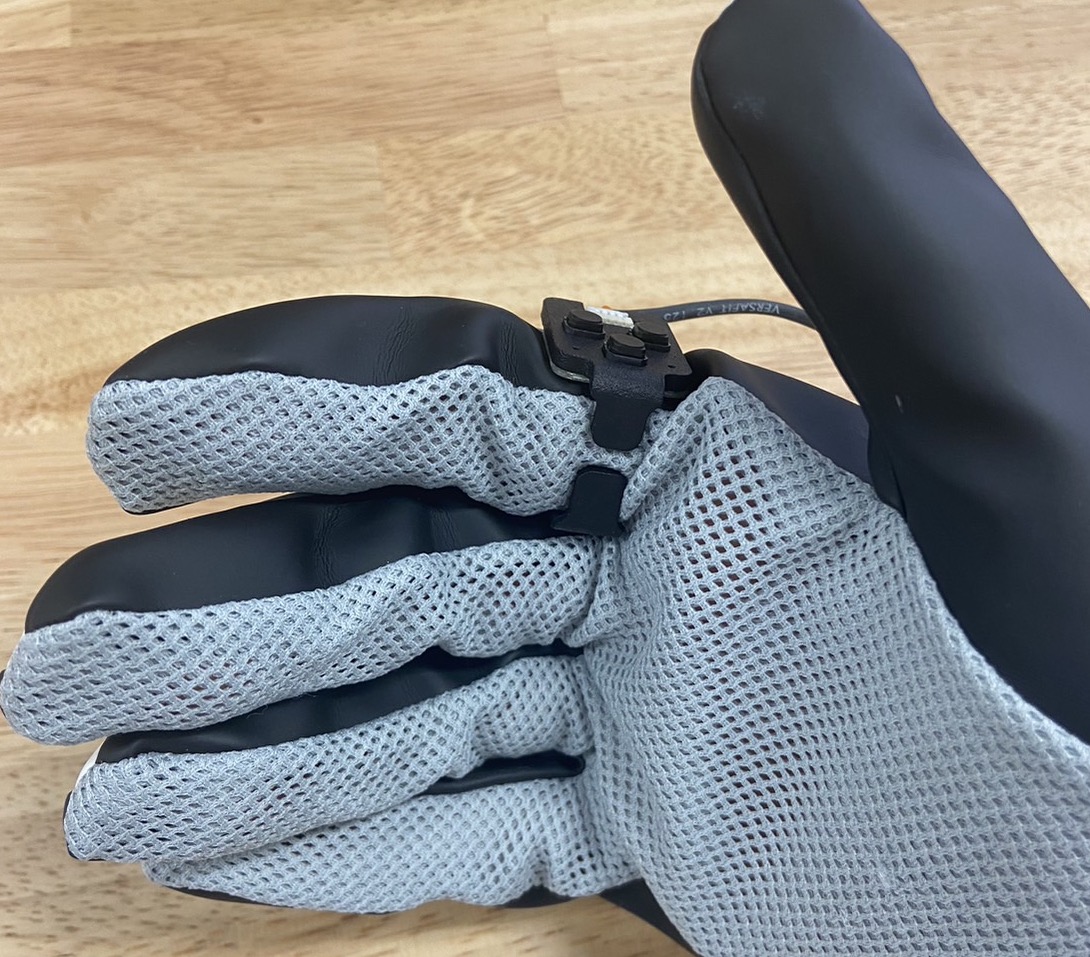
- Button Installation
- Pass the button module through your index finger
- Joystick Installation
- Velcro attachment
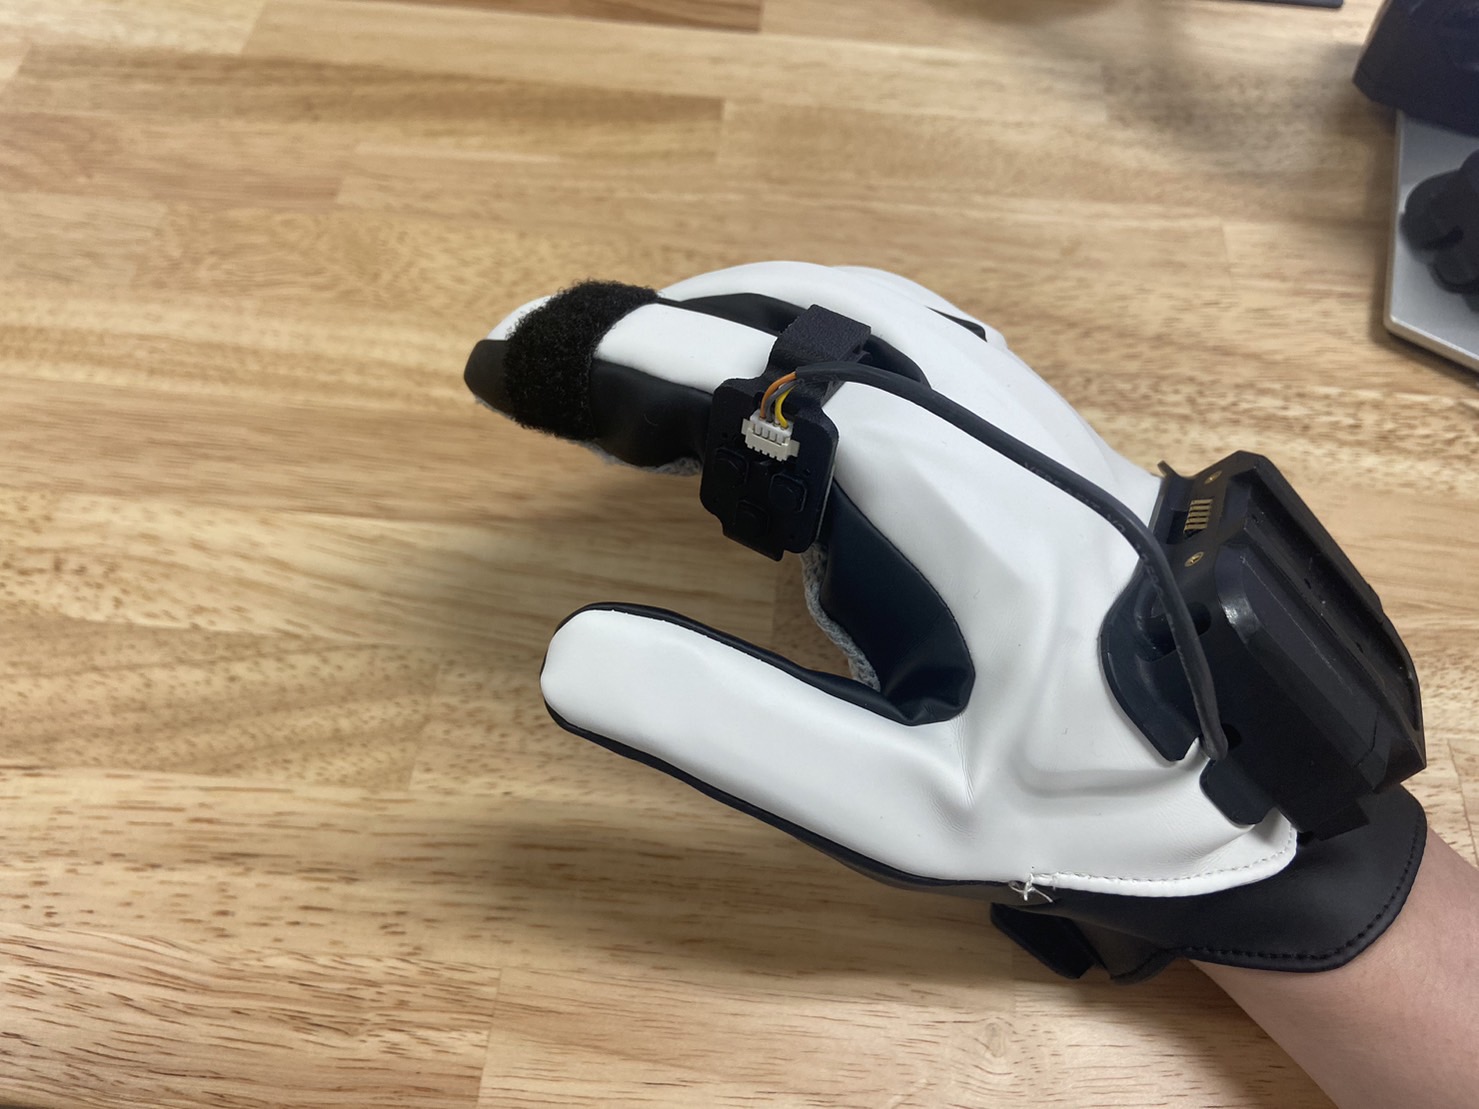
Affix the included velcro to the tip of your index finger. It is difficult to reattach the velcro, so please position it carefully.
- Mounting the joystick module
Secure the joystick with Velcro. It is also possible to fine-tune the mounting position.
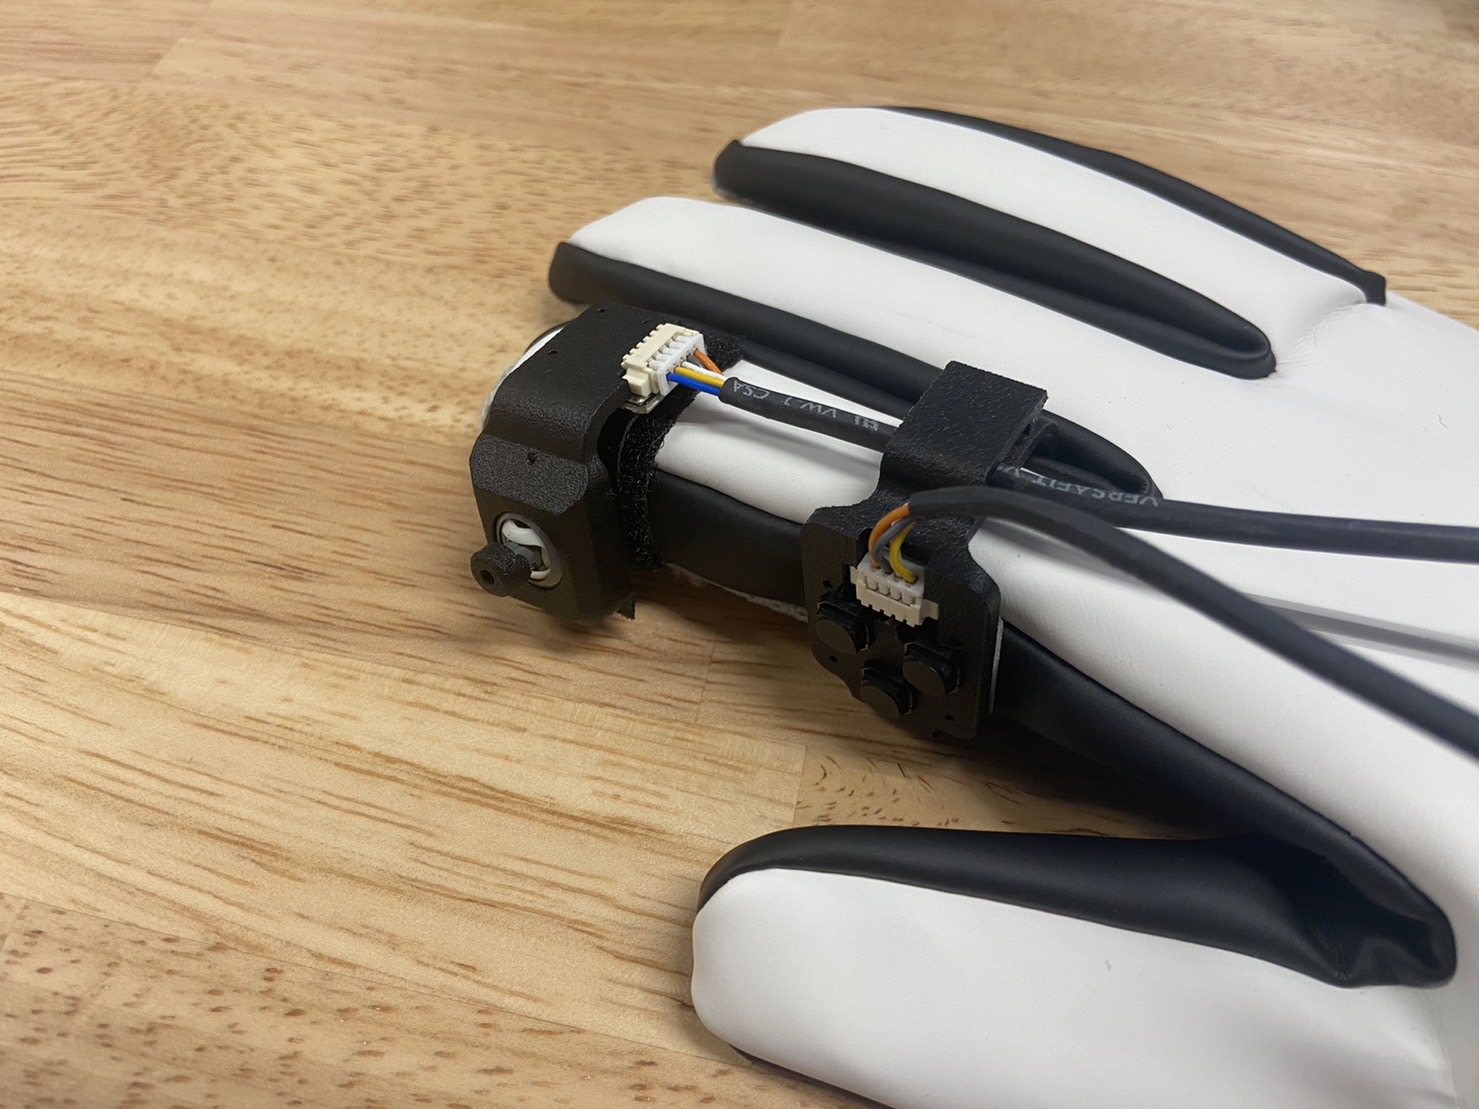
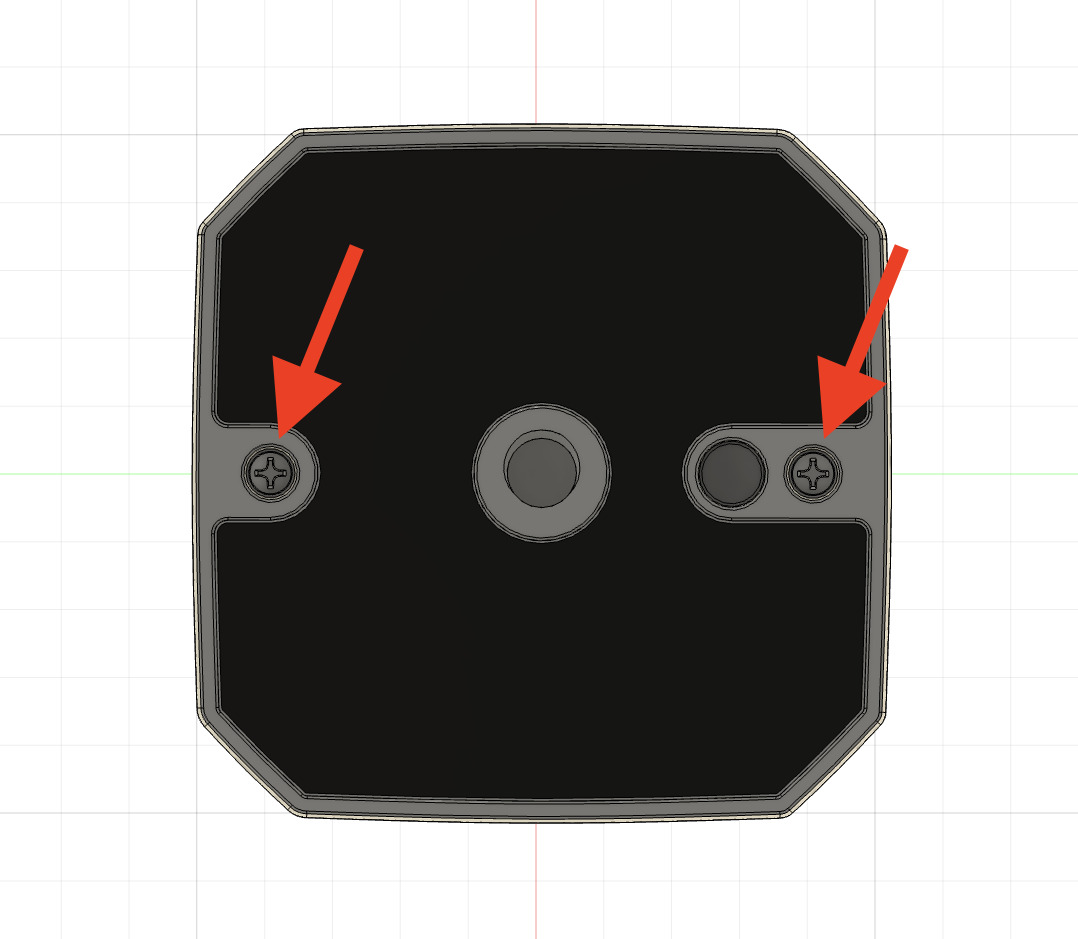
If you want to place the joystick module on something other than your fingertips
If the fingertip joystick gets in the way when dancing or DJing, you can move it to another location.
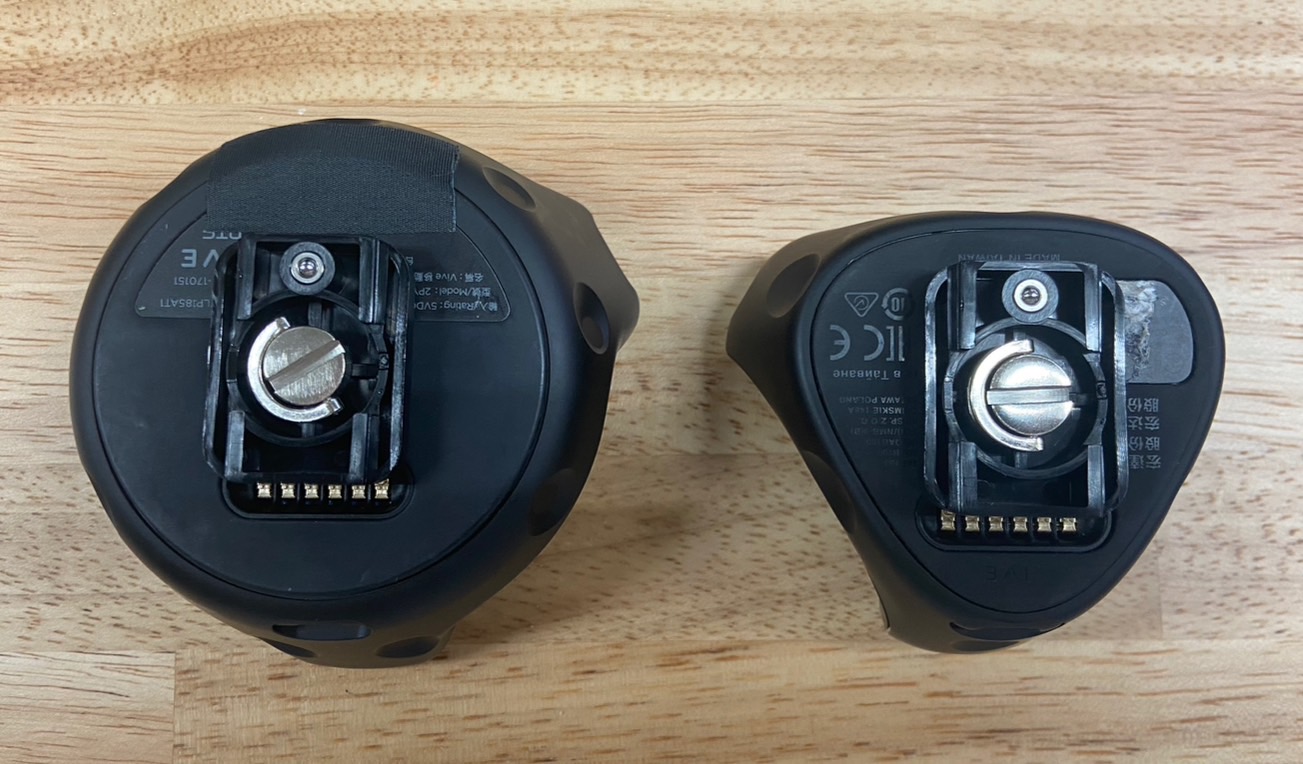
# Installing the mounting adapter
- Tundra Tracker Users
- Remove tracker baseplate
- Mounting the adapter
- For Vive Tracker users
- Mounting the adapter
TIP
By using the dedicated adapter for the Tundra Tracker, the height of the tracker can be made shorter and less likely to shake. If you frequently use the tracker outside of the ContactGlove, attaching the Vive Tracker adapter to the Tundra Tracker makes it easier to remove the adapter. (*The height of the tracker will be higher than when using the dedicated adapter.)
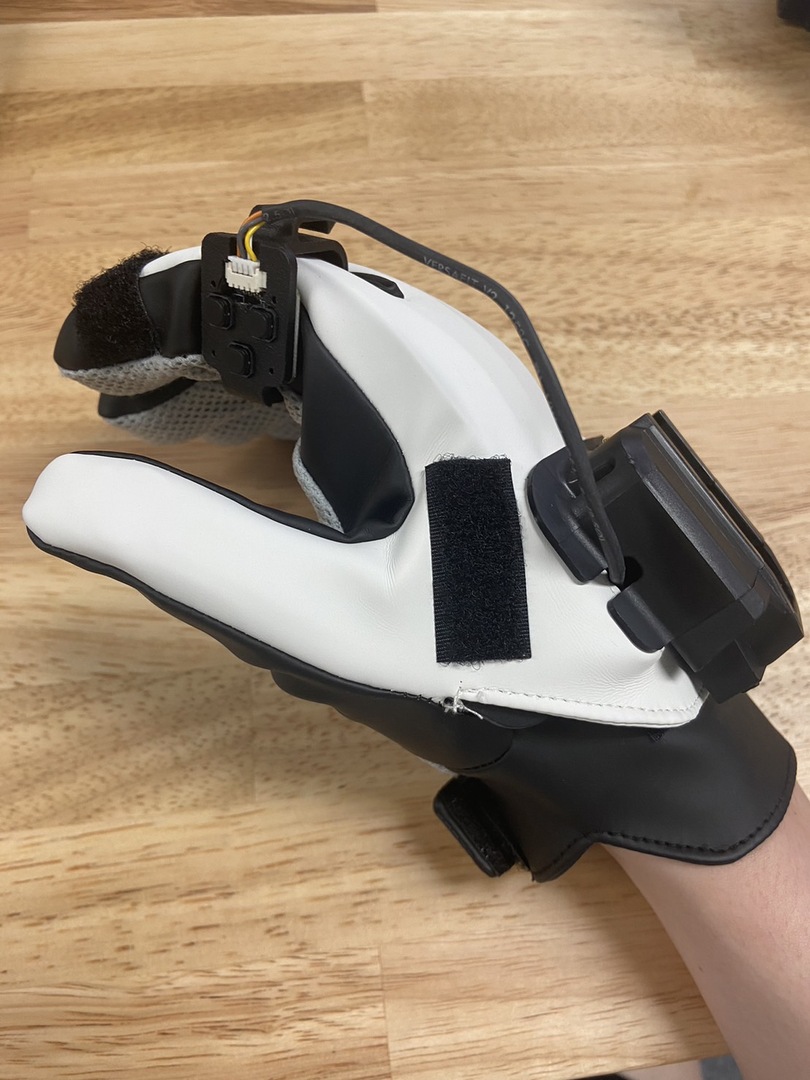
# Attach tracker to ContactGlove body
Align the tracker with the rail and slide it until it clicks into place.
The hardware related setup is now complete!